
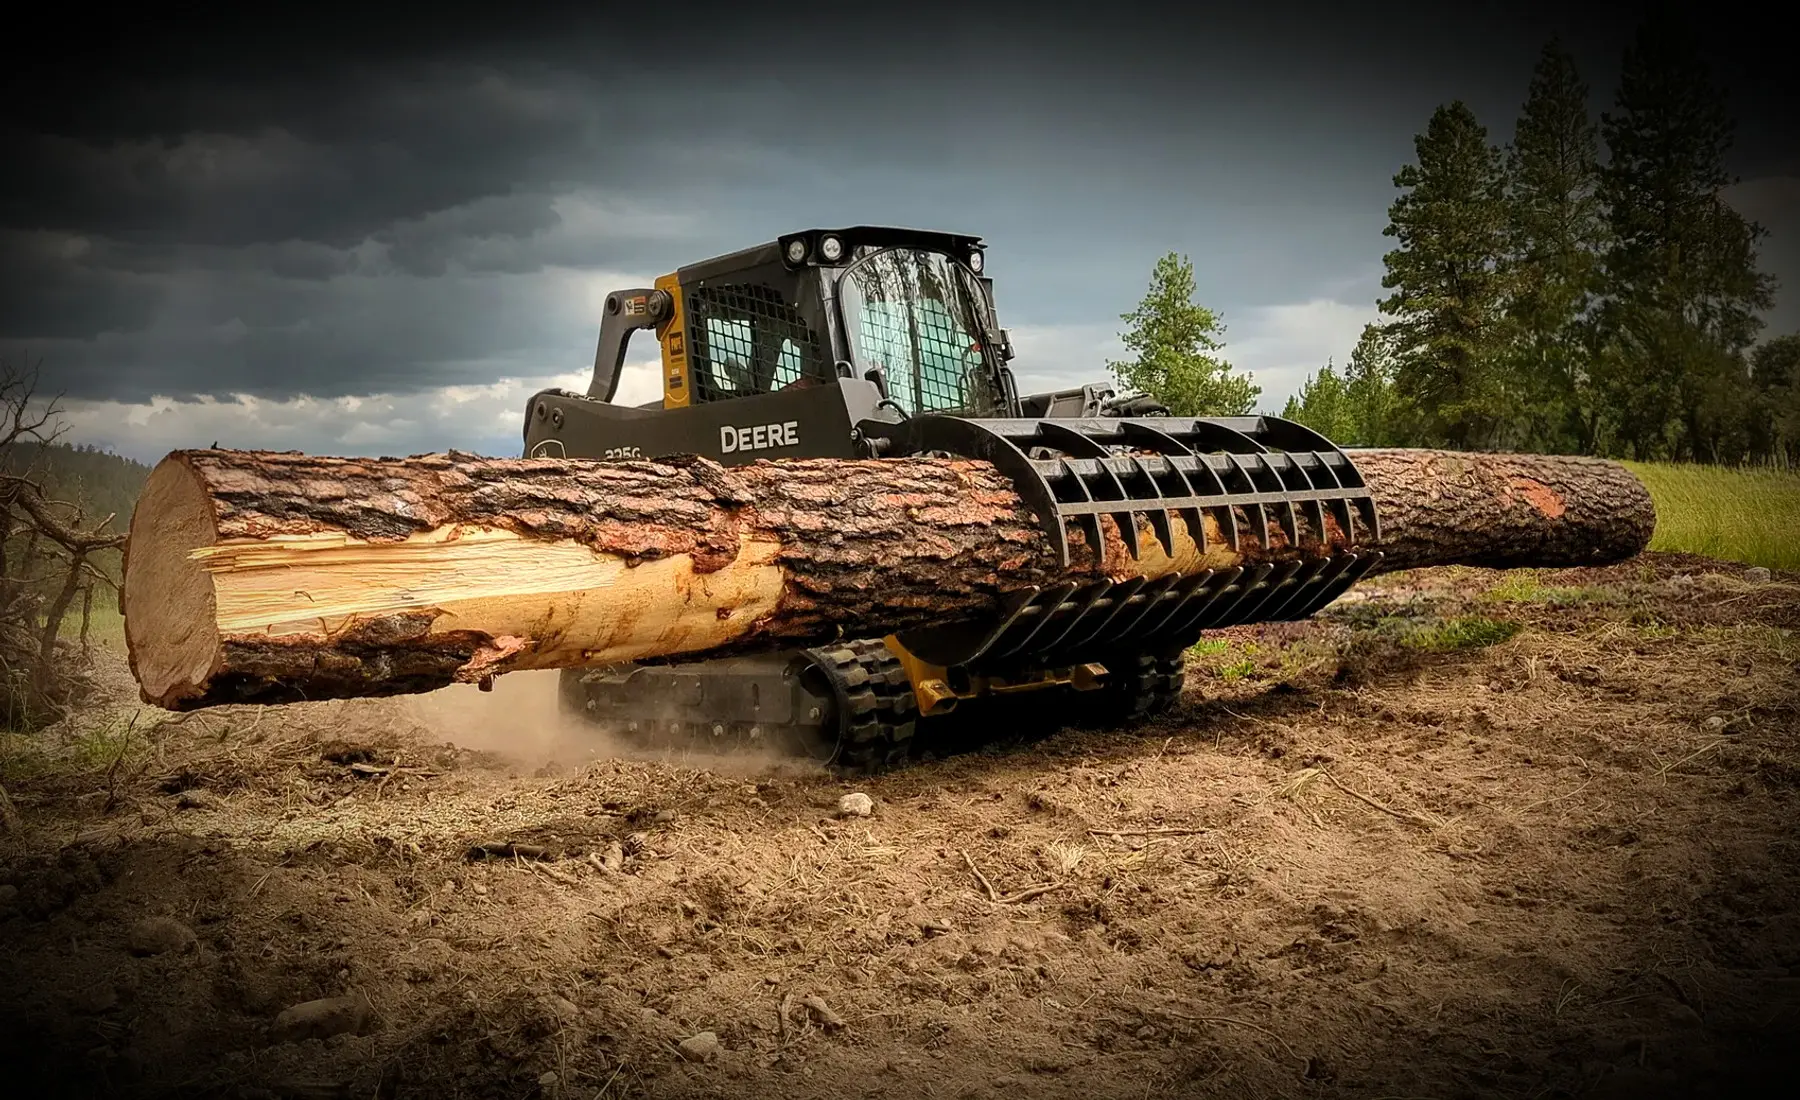
A few scattered limbs, a brush pile beside the driveway, and downed wood along a fence may not seem urgent in October. Once snow covers them, those same obstacles are harder to see, reach, and move.
Fall is a useful time to put a grapple rake to work on the areas you will depend on all winter. The goal is straightforward: clear the routes you use, organize loose material, and leave your equipment ready for the next job. Start with these six tasks while ground conditions still allow the work.
1. Clear the routes you will need in winter
Start with driveways, gates, barn approaches, equipment storage areas, and the routes between them. Move loose limbs and brush out of the travel path, including the edges where you expect to push or pile snow.
Walk the area before bringing in the machine. Look for wire, rocks, stumps, and other obstacles that leaves or grass may conceal. Decide where material will go before the first load so you do not clear one route by blocking another.
Prioritize the places you use every day. A clear route to the woodpile or livestock area is often more useful than finishing a remote corner of the property.
2. Gather scattered brush and pruning debris
Small piles left from summer pruning, fence repairs, or trail maintenance are easy to overlook. Gather them into a planned staging area before snow makes each pile a separate search.
A grapple rake can collect tangled limbs that are awkward to retain in a bucket. Its open tines also allow loose soil to fall through instead of carrying every bit of dirt with the brush. Tine spacing matters: smaller debris needs closer spacing than large branches and logs.
Work from the outside of the pile and take manageable bundles. An oversized load that needs repeated repositioning can take longer than several controlled trips.
3. Move downed logs and loose wood
Bring accessible downed wood to a designated processing or storage area while the route is still clear. Separating larger wood from mixed brush now makes later handling easier.
Judge each piece by the machine's rated capacity and the way the load sits in the grapple. A log that fits between the tines may still be too heavy or too long for the available space. Keep carried loads low, preserve visibility, and allow room for the ends when turning.
This task is about handling loose, downed material. Leave standing, hung-up, or tensioned trees to properly equipped professionals.
4. Clean up beside fences and gates
Remove loose branches and previously cut vegetation that interfere with gates, fence inspections, or access to property edges. Finish the areas where winter chores require you to pass regularly.
Check carefully for old fence wire, cable, and hardware before grabbing a bundle. Keep the grapple clear of the fence itself, and avoid pulling material that is still attached to wire or posts. The attachment should help you collect debris without turning a cleanup job into a fence repair.
Keep bystanders outside the machine's work area, and stop the machine before anyone approaches to help.
5. Organize piles around your winter work
Choose separate places for brush awaiting removal, wood awaiting processing, and equipment awaiting use. Keep gates, drainage paths, and the space needed for snow storage accessible.
Think through the next step for each pile. If you will load a trailer, leave an approach for the trailer. If you will process wood later, leave working space around it. A pile placed conveniently today can become an obstacle when the snow-clearing routine begins.
Use the grapple to consolidate loose material into controllable loads, then place it deliberately. A little planning reduces how often the same material needs to be moved.
6. Inspect the grapple before the next weather change
After cleanup, remove accumulated debris so you can inspect the attachment. Follow the carrier and attachment manuals for safe shutdown, pressure relief, lubrication, and storage; lower and secure the attachment before inspection or service.
Check tines and welds for damage, pins and retainers for security, and pivots for unusual play. On hydraulic grapples, inspect hose routing, fittings, and couplers for wear or leakage. Address damage before returning the attachment to work.
If the grapple will be stored, leave it supported in a stable position and protect its connections as directed by the manual. If it will stay in service, make sure it is ready for the next cleanup window.
- Clean debris from the frame and moving joints.
- Inspect tines, welds, pins, and retainers.
- Lubricate the specified grease points.
- Check hydraulic hoses and couplers where fitted.
- Record needed parts with the attachment model.
Choose a grapple for your machine and your cleanup
The right grapple depends on the machine and the material you handle most. Horsepower is a starting point; loader capacity, machine weight, tracks or wheels, attachment width, mount, and intended work help determine the final fit.
ANBO's standard GR profile suits controlled raking and ground work. High Capacity models provide longer, flatter lower tines and more carrying space for bulky brush and limbs. High Capacity describes the geometry and carrying room, so the grapple still needs to be matched to the machine's strength class.
For compatible compact tractors without a third function, the CLASP‑IT™ offers a mechanical option for handling brush, logs, and general property debris. Its linkage requires a suitable open loader cross tube, and ANBO must confirm loader compatibility.
ANBO builds grapple rakes with USA-sourced AR400F steel and serviceable details such as greasable pivots. Tell our team what machine you run and what you want to clean up. We can help narrow the model, width, spacing, and mount before you order. Call (888) 762-6218 or use the attachment finder below.

